Instructions continued from the top.
")
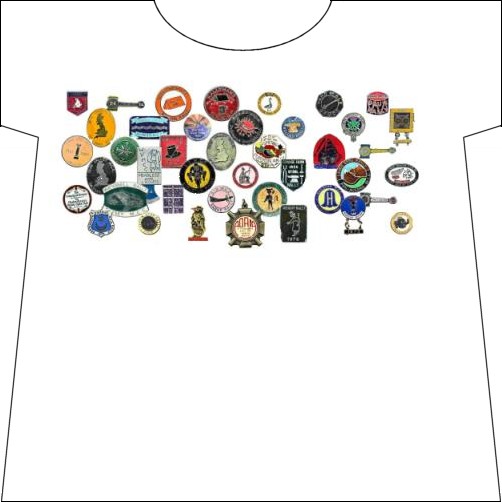
Right click the picture on the right and "Save picture as" test.gif to where your badge set files are saved. (The saved picture is bigger than shown here)
Open the test picture (above) in your graphics/photo editing program and see if you have a print preview option. You need to set up to scale to fit A4 landscape paper. If the percentage size is shown (it should be about 84%) make a note of what it is. Now set your printer to print to iron-on transfers. Keep plain paper in the printer at the moment and print a test page. It should be reversed and without losing any of the border lines. If it was not reversed automatially or you don't have an 'iron-on transfer' setting you will need to mirror the images, either in the printer settings, or reverse the images using your graphics/photo editing software.
Put your iron-on transfer paper into the printer and print your badge picture files to the same percentage size as noted. Use the best quality setting.
Follow the instructions that came with your iron-on transfer paper to put the images on your T-shirt.
As a general guide the front and back of a medium T-shirt will take nine A4 pages of 30 badges each, some sheets cut in half to fit on. I know rallyist who will be on their fourth T-shirt or maybe ironing them onto their tent flysheet!
Typical iron-on transfer instructions:
- Cut round the picture leaving about 2mm margin. leave a corner slightly bigger and fold this under so you can grip it to peel off later.
- Set the iron to the hottest setting and let it heat up for five minutes.
- Spread the T shirt and give it a quick iron to make sure it is smooth. Let it cool down.
- Place the transfer carefully where you want it (face down, top at the top!). The folded under corner should be between paper and T shirt.
- Press the hot iron on one corner and hold for several seconds. Then move it slowly along the long edge.
- Repeat this along the other long edge.
- Press the whole transfer area making sure the whole transfer is heated.
- Remove the iron and peel up the backing paper from the folded under corner.
- If the paper sticks, use the iron to reheat the adhesive and continue peeling the paper, moving the iron just ahead of crease.
- When you add another sheet (or half sheet) to the T shirt, keep the iron off the previously applied badges by dropping them over a table edge or cover them with a sheet of the backing paper folded in half, slippy side out.